200W solar panel, 150ah battery, 10A controller, No inverter needed
Product Description
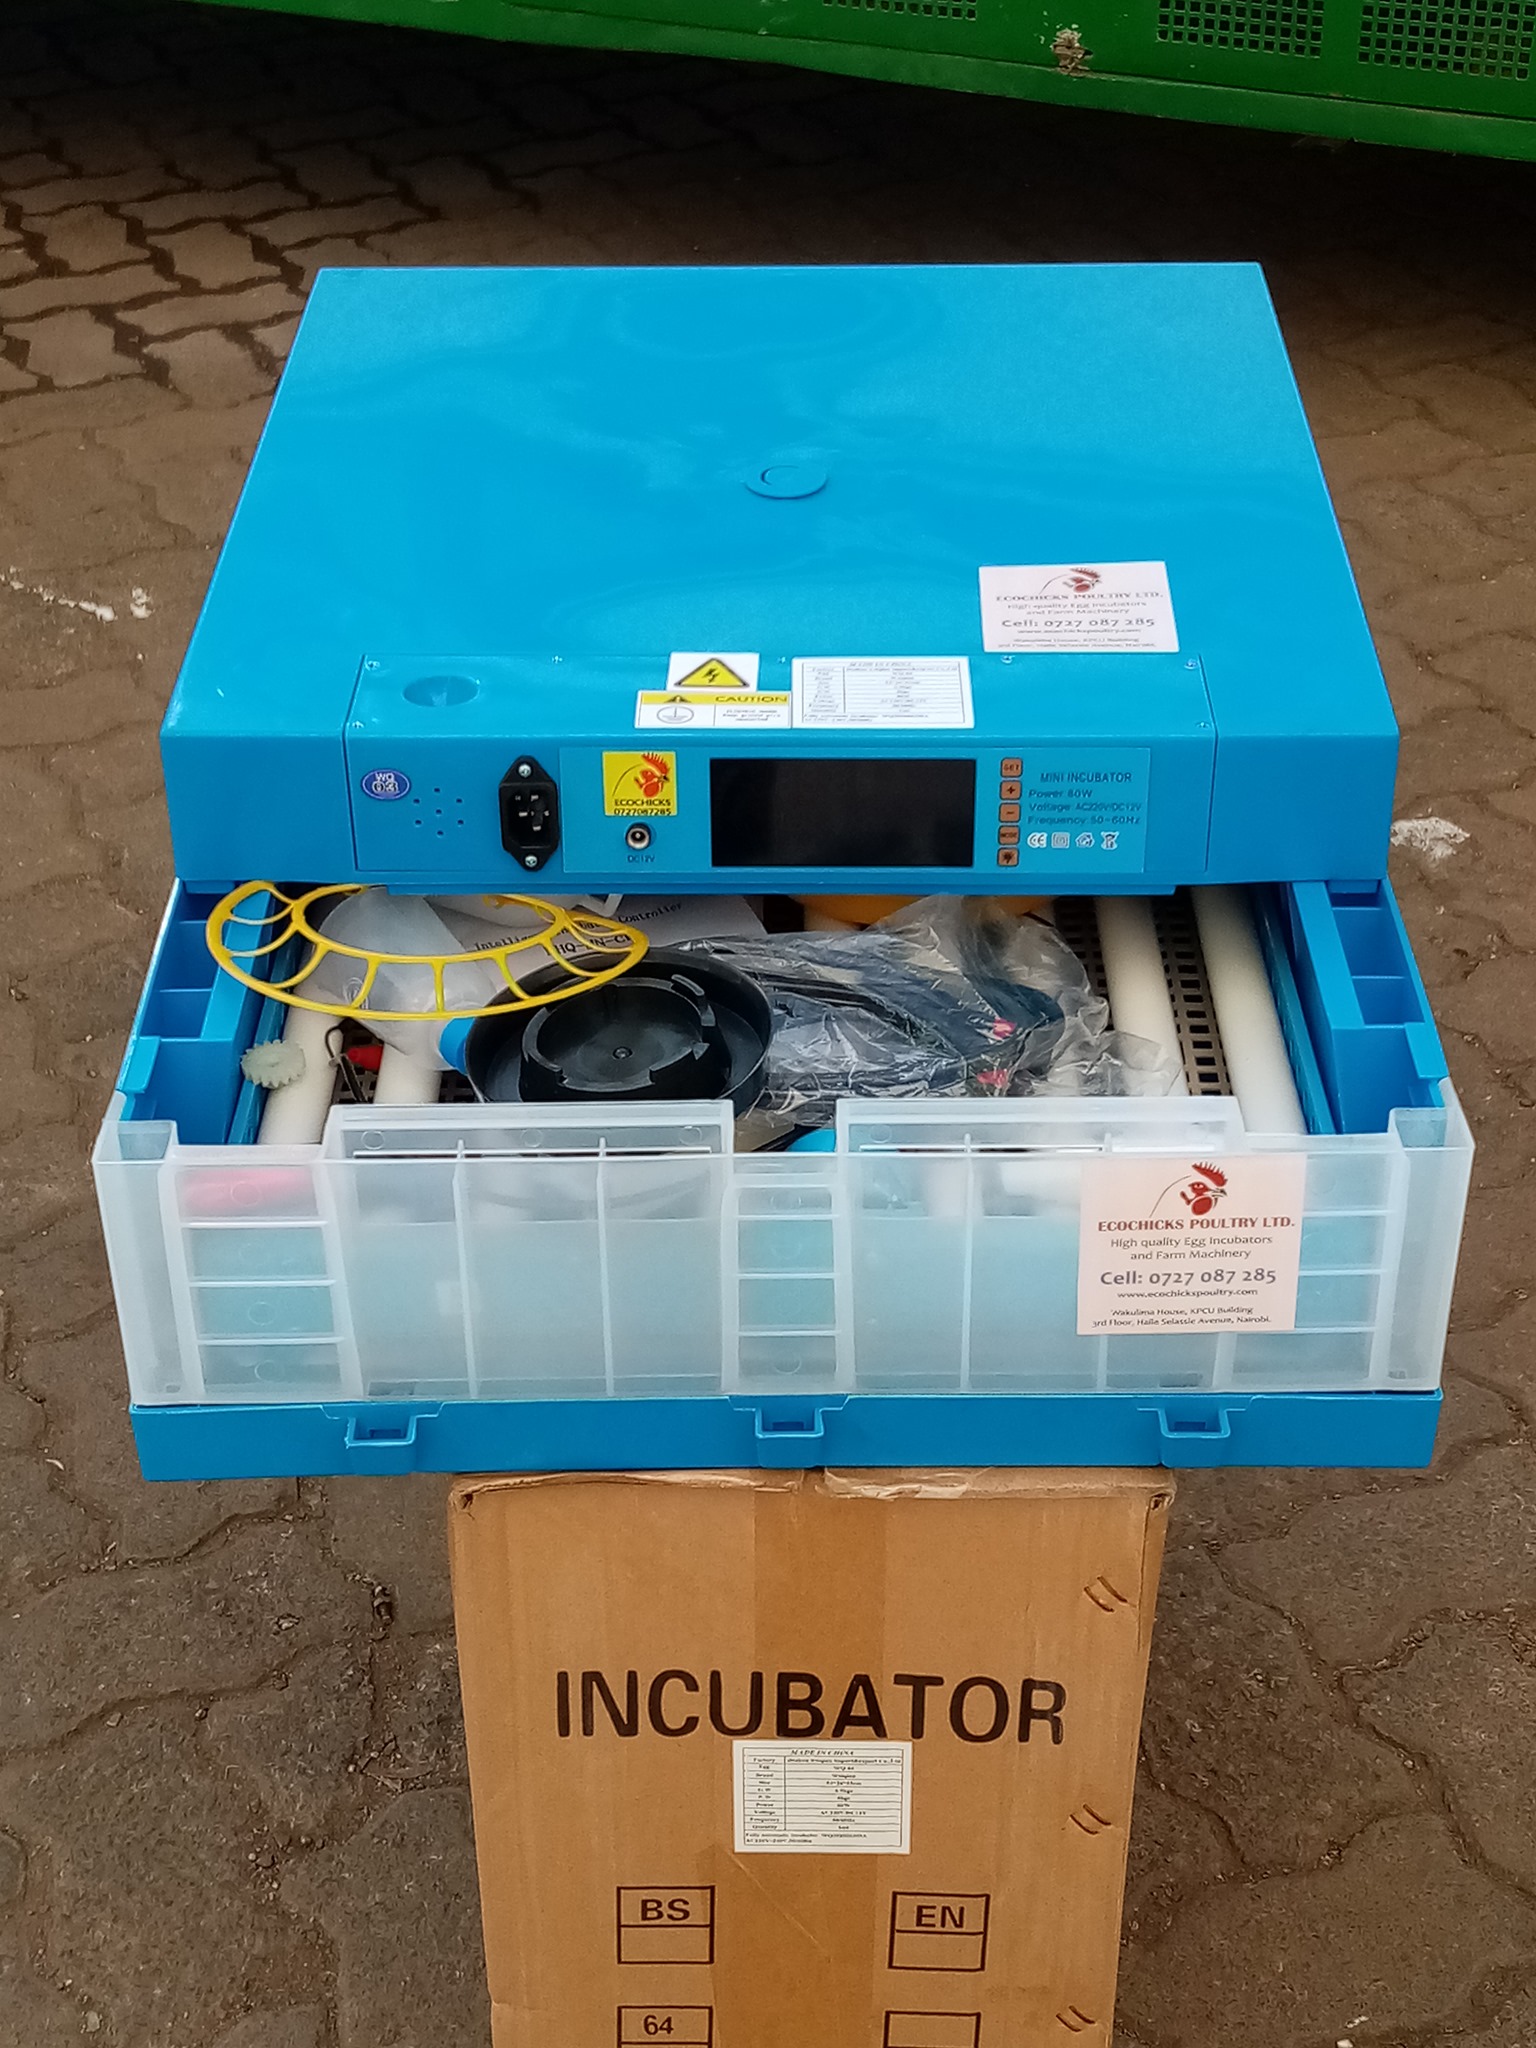
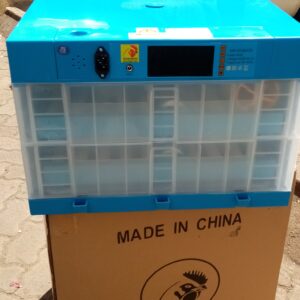
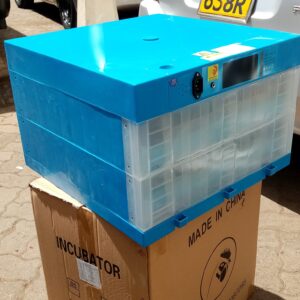
Solar eggs incubator in Kenya/automatic solar incubator for hatching eggs less Ksh 15,000
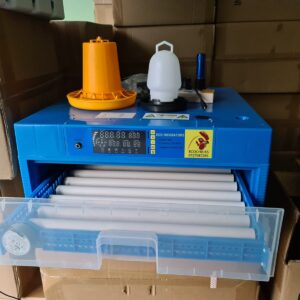
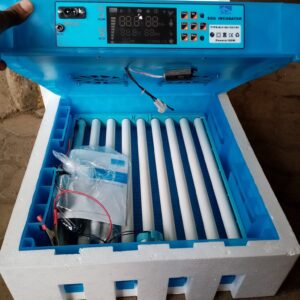
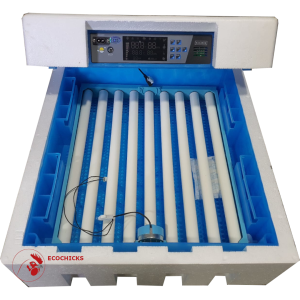
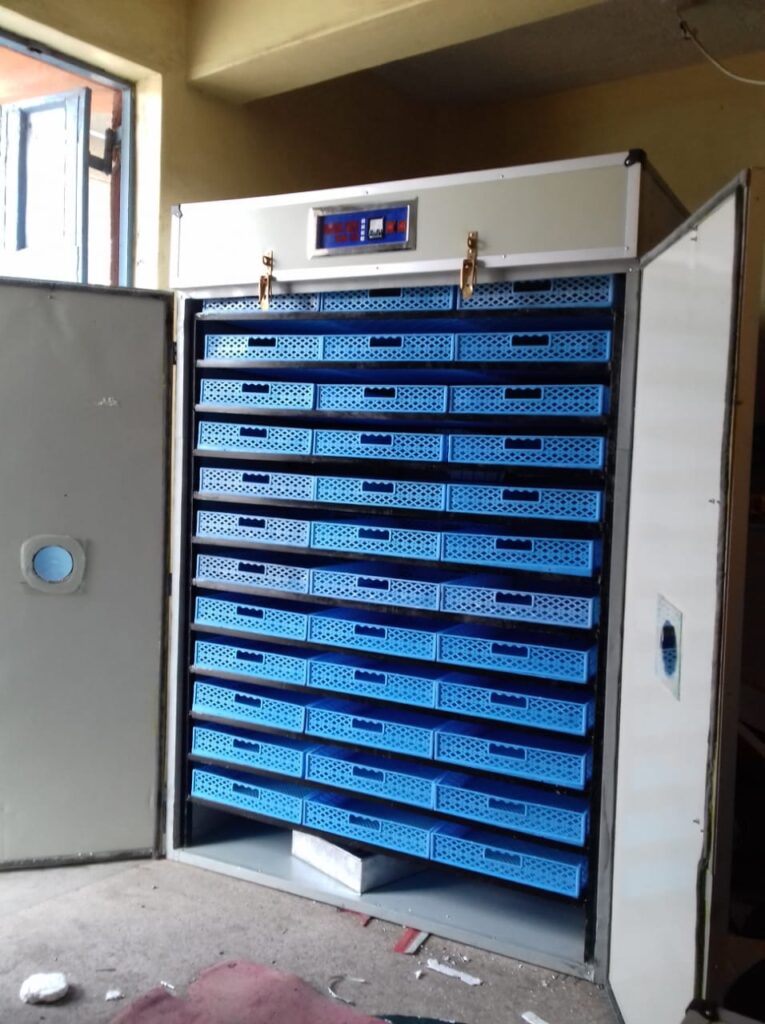
Micro computer intelligent incubator is a new generation of intelligent incubating equipment
The precision for controlling the humidity: ±4%RH
Rotation number: the limitation of 999
Relative humidity: less than 85%RH
Lines of output signals: 6 (high/medium/low temperature, left rotation, right rotation, humidity control)
The equipment adopts double digital screen and special multi-functional window to guide operation, providing functions convenient for consumers and more precise control to realize perfect automatic incubating process.
It not only can intelligently control temperature, humidity, ventilation, regular egg rotation, various alarm, examination and error warning functions, but also has one button to control the whole process, really realizing full automation.
If the solar energy storage battery is not enough, it is automatically converted to the city electricity, which is convenient for energy saving.
Ecochicks Ltd is the best online supplier of poultry egg incubators and accessories. Lowest Prices, Hassle Free Guarantee, and Fast Shipping! We have the best eggs incubator price in Kenya, quality and cheapest eggs incubators in the market .
There are many different types of poultry farming equipment that are commonly used in broiler production to raise and care for chickens. Some of the most common types of equipment used for broilers include:
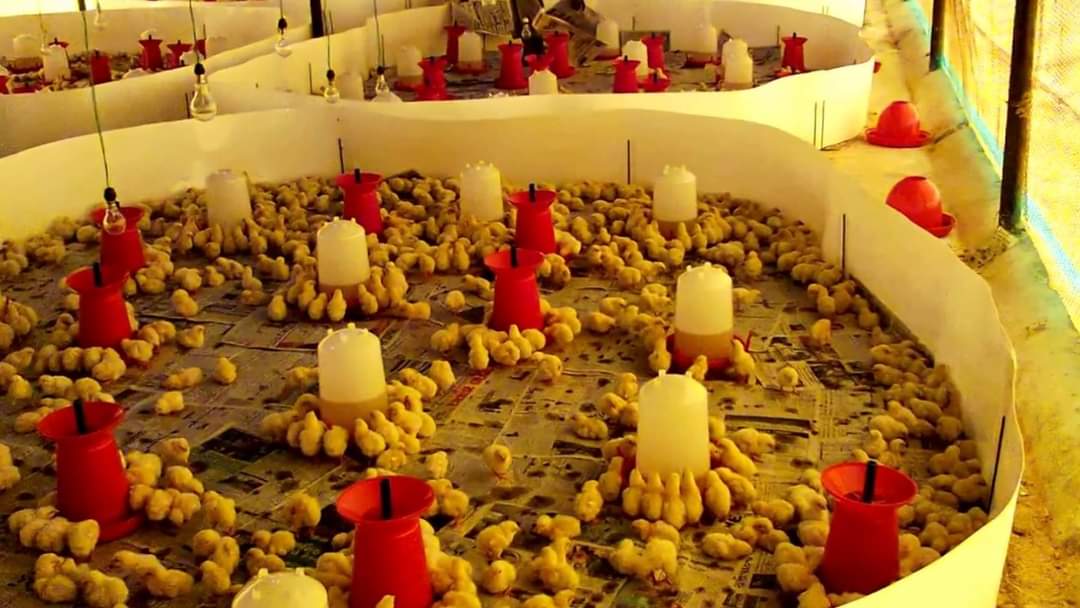
Brooder: A brooder is a heated enclosure used to raise newly hatched chicks until they are old enough to move to a larger pen. Brooders typically consist of a heat source (such as a heat lamp or heating pad), a feeder, and a waterer.
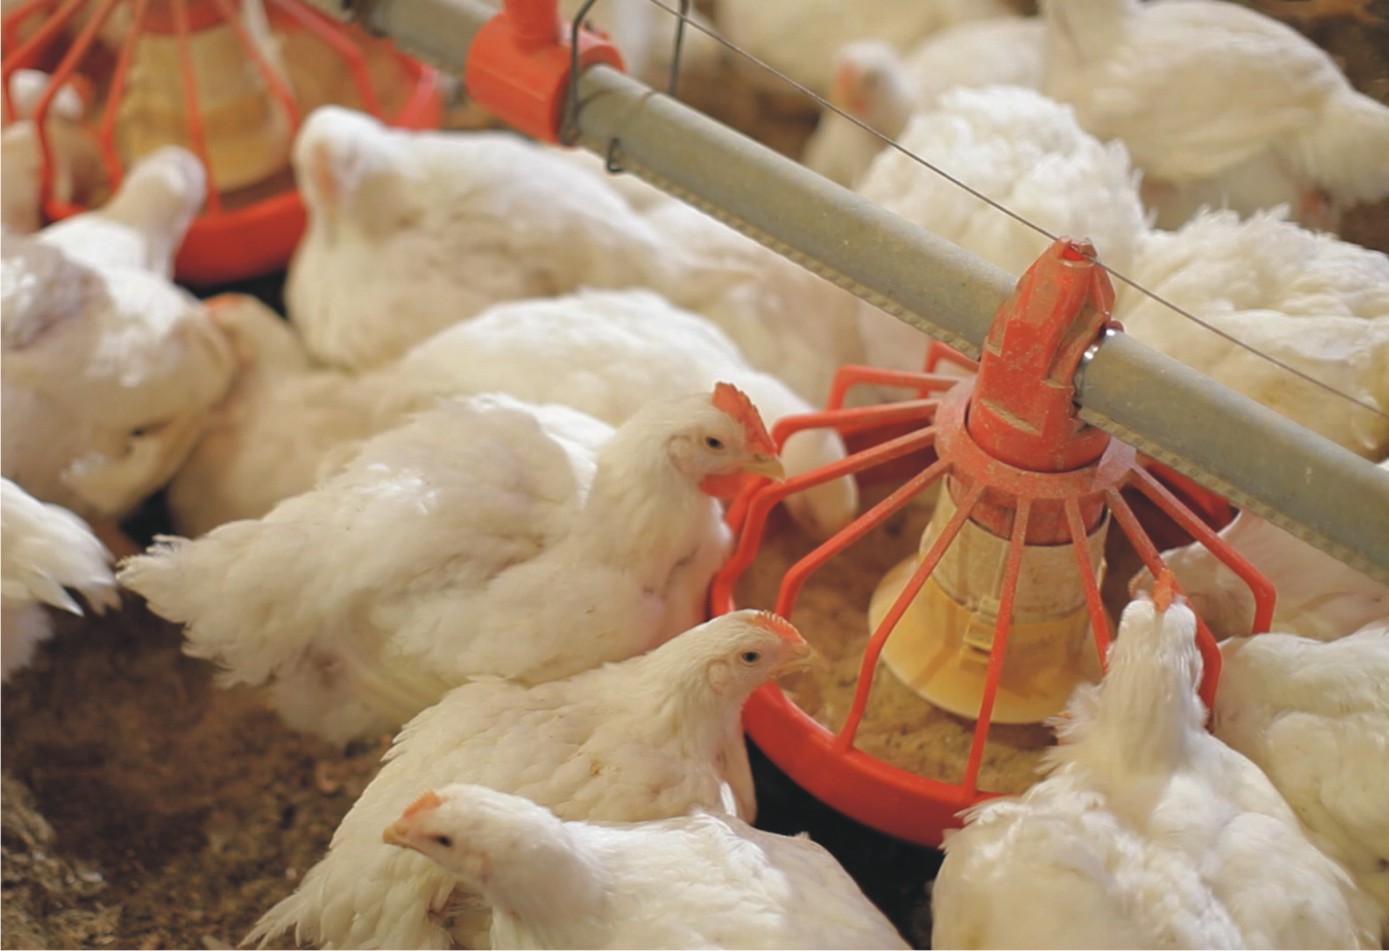
Feeder and waterer: Feeders and waterers are essential for providing broilers with access to food and water. They come in a variety of sizes and designs, including gravity-fed systems, nipple waterers, and automatic feeders.
Incubators and hatchers: These equipment are used to hatch and rear broiler chicks in a controlled environment, providing them with the necessary conditions for optimal growth and development.
Vaccination equipment: Vaccination is an important aspect of broiler production, and specialized equipment is often used to administer vaccines to the birds.
Weighing and grading equipment: This equipment is used to monitor the growth of broiler chickens and ensure that they are reaching their optimal weight. It can also be used to grade the birds according to size and weight.
Conveyor systems: Conveyor systems are used to move broiler chickens, eggs, and feed throughout the broiler house. This equipment can help to reduce labor costs and increase efficiency.
Slaughtering and processing equipment: Slaughtering and processing equipment is used to harvest broiler chickens and prepare them for consumption. This includes equipment such as kill cones, scalders, pluckers, and evisceration machines.
Other equipment that may be used in broiler production include poultry vaccines, insecticides, and other medications to prevent and treat disease, as well as waste management systems to handle manure and other byproducts.
There are many different materials that can be used to make an incubator, depending on your specific needs and preferences. Some common materials for incubator making include:
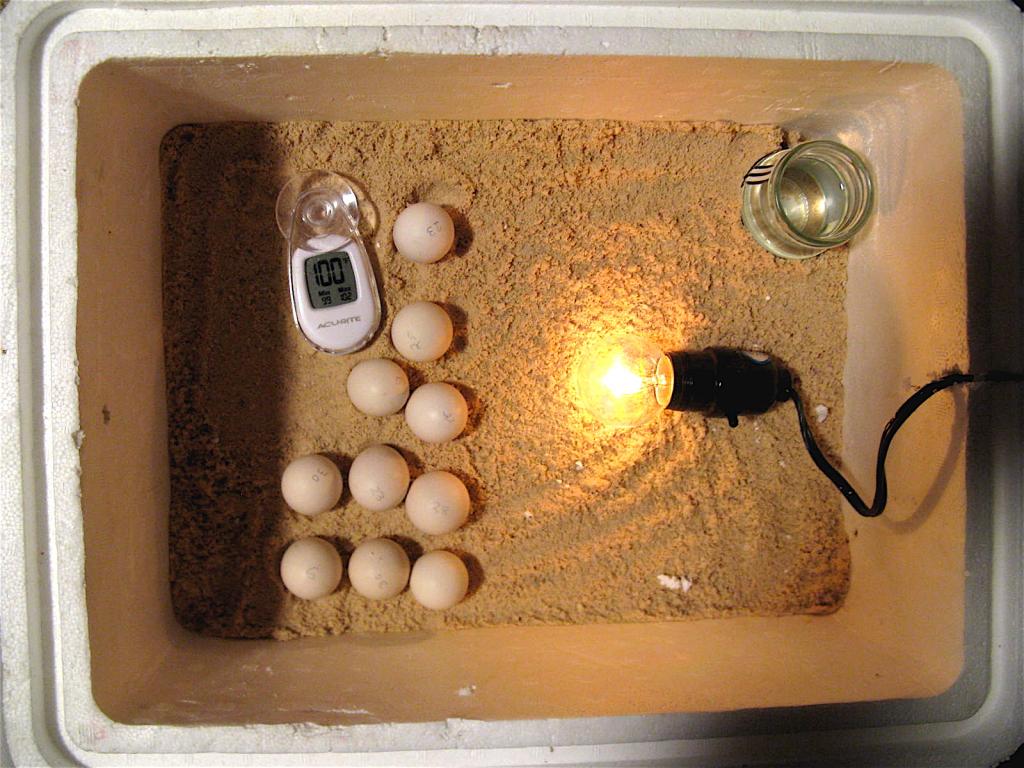
Styrofoam cooler: A Styrofoam cooler is an affordable and lightweight option for making a small incubator. It is easy to modify by cutting holes for ventilation, power cords, and other components.
Plastic storage container: A plastic storage container is another inexpensive option for creating an incubator. It is durable and easy to work with, and can be customized by drilling holes or cutting openings for ventilation and access.
Wood: Wood can be used to create a more sturdy and durable incubator. It is a good option for larger incubators or for those that need to withstand frequent use or outdoor conditions.
Metal: Metal can also be used to make an incubator, although it is less common than other materials. It is durable and can provide good insulation, but may require more specialized tools and techniques to work with.
Glass: Glass can be used to make a transparent incubator that allows you to easily observe the developing embryos or plants. However, it is more fragile and can be more difficult to work with than other materials.
In addition to the main material, other components and accessories that may be needed to make an incubator include a heat source (such as a light bulb or heating pad), a temperature controller, a fan for ventilation, a thermometer, and an egg turner (if incubating eggs).
An incubator homemade light bulb is a simple and cost-effective way to create a warm and controlled environment for incubating eggs or growing plants or microorganisms.
To make an incubator homemade light bulb, you will need a few basic materials, including a standard light bulb socket, a lamp cord with plug, a porcelain light bulb socket, a thermometer, and a heat-resistant container such as a Styrofoam cooler or a plastic storage box.
To create the incubator, follow these steps:
Drill a hole in the top of the container and insert the porcelain light bulb socket.
Screw in the light bulb.
Connect the lamp cord to the light bulb socket.
Place the thermometer in the container to monitor the temperature.
Set the container on a flat and stable surface and plug in the cord.
Adjust the distance between the light bulb and the container to achieve the desired temperature.
Note that the temperature inside the container will vary depending on the wattage of the light bulb and the size and insulation of the container. It’s important to monitor the temperature regularly and make adjustments as needed to ensure that the environment remains within the appropriate range for your specific application.
While an incubator homemade light bulb may be a simple and affordable option, it’s important to note that commercial incubators may provide more precise and consistent temperature control, as well as additional features such as humidity control and automatic egg turning.
These incubators have no fans and rely on natural air circulation to keep the temperature and humidity consistent. They are simpler and less expensive but require more manual intervention.
Forced-air incubators:
These incubators have fans that circulate air evenly throughout the incubator, which makes temperature and humidity control easier and more precise. They are more expensive but require less manual intervention.
Cabinet incubators:
These are larger incubators that can hold a large number of eggs and have advanced features like automatic egg turning, humidity control, and temperature control.
Tabletop incubators:
These are smaller incubators that can be placed on a tabletop and are suitable for hatching small batches of eggs.
Mini incubators:
These are compact incubators that are designed for hatching a few eggs at a time and are ideal for hobbyists or small-scale farmers.
Combination incubators:
These are incubators that can function as both an incubator and a hatcher, making it possible to incubate and hatch eggs in the same unit.
Fowl pox is a common viral disease that affects chickens, turkeys, and other poultry species. Here is a step-by-step guide to treat fowl pox:
There is no treatment for fowl pox
Prevention is by vaccinating the birds at 12-16 weeks of age
Isolation:
As soon as you suspect a bird has fowl pox, isolate it from the rest of the flock to prevent the spread of the virus.
Consult a veterinarian:
If you are unsure if the bird has fowl pox or if it has other underlying health issues, consult a veterinarian to receive a proper diagnosis and treatment plan.
Provide supportive care:
Provide the infected bird with a clean, warm, and stress-free environment to support its recovery. Offer clean water and nutritious food to help boost its immune system.
Topical treatment:
Fowl pox can cause wart-like growths on the skin, which can become infected.
A veterinarian can prescribe a topical ointment or spray to prevent secondary bacterial infections and promote healing.
Supportive medications:
If the bird is dehydrated or experiencing severe symptoms, the veterinarian may recommend supportive medications such as fluids or antibiotics to help it recover.
Vaccination:
Once the bird has recovered, consider vaccinating it and the rest of the flock to prevent future outbreaks of fowl pox.
Coccidiosis is a common parasitic infection in chickens that can cause diarrhea, weight loss, and even death. Here is a step-by-step guide on how to treat coccidiosis:
Observe your chickens:
Look for symptoms of coccidiosis, such as diarrhea, lethargy, loss of appetite, and decreased egg production.
If you suspect your chickens have coccidiosis, take steps to isolate them from healthy birds to prevent the spread of the disease.
Consult a veterinarian:
A veterinarian can diagnose coccidiosis by examining a sample of the affected chicken’s droppings and can recommend the most appropriate treatment.
Administer medications:
If a veterinarian diagnoses your chickens with coccidiosis, they may prescribe a medication, such as Amprolium, that can be added to the chickens’ water or feed.
Follow the veterinarian’s instructions for administering the medication, including the correct dosage and duration of treatment.
Keep the environment clean:
Coccidiosis is spread through contaminated feces, so it’s important to keep the coop and surrounding area clean and free of droppings.
Clean and disinfect the coop and any equipment, such as feeders and waterers, regularly to prevent re-infection.
Implement preventive measures:
To prevent coccidiosis from recurring, you can incorporate preventative measures into your management practices, such as providing clean, dry bedding, offering a balanced diet, and reducing stress levels in your flock.
Offer a high-protein chick starter feed, which is specially formulated for chicks, in a shallow dish or feeder. Offer water in a waterer or shallow dish and change it daily.
3 to 8 Weeks:
Continue offering the chick starter feed and provide a source of grit, such as crushed eggshells or commercial chick grit, to help the chicks digest their food.
You can also offer them some fresh greens and other treats, such as cooked egg yolks or mealworms, to provide additional nutrition and stimulation.
8 Weeks to Point of Lay:
Gradually transition the chicks to a grower feed, which is lower in protein than the chick starter feed but higher in calcium, which is important for egg production.
You can also offer them oyster shells or other calcium supplements to ensure they have enough calcium in their diet.
Point of Lay to End of Laying Cycle:
Offer a layer feed, which is specially formulated for laying hens, to provide them with the nutrients they need to produce eggs.
Make sure they always have access to fresh water and a source of calcium, such as oyster shells or cuttlebone.
It is important to monitor the chicks’ weight and health regularly, and adjust their feed as needed to ensure they are growing and developing properly. Be sure to follow the manufacturer’s recommendations for feeding rates and frequency, and always store feed in a cool, dry place to maintain its freshness and quality.