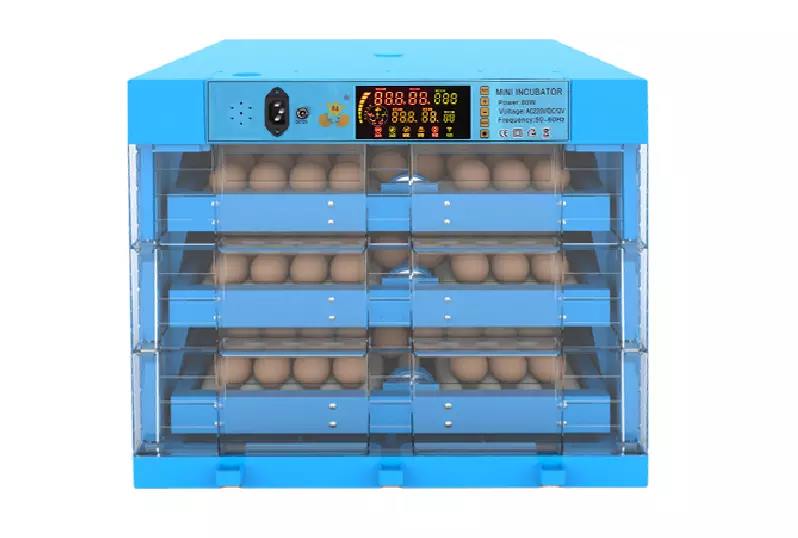
Hatchery tray

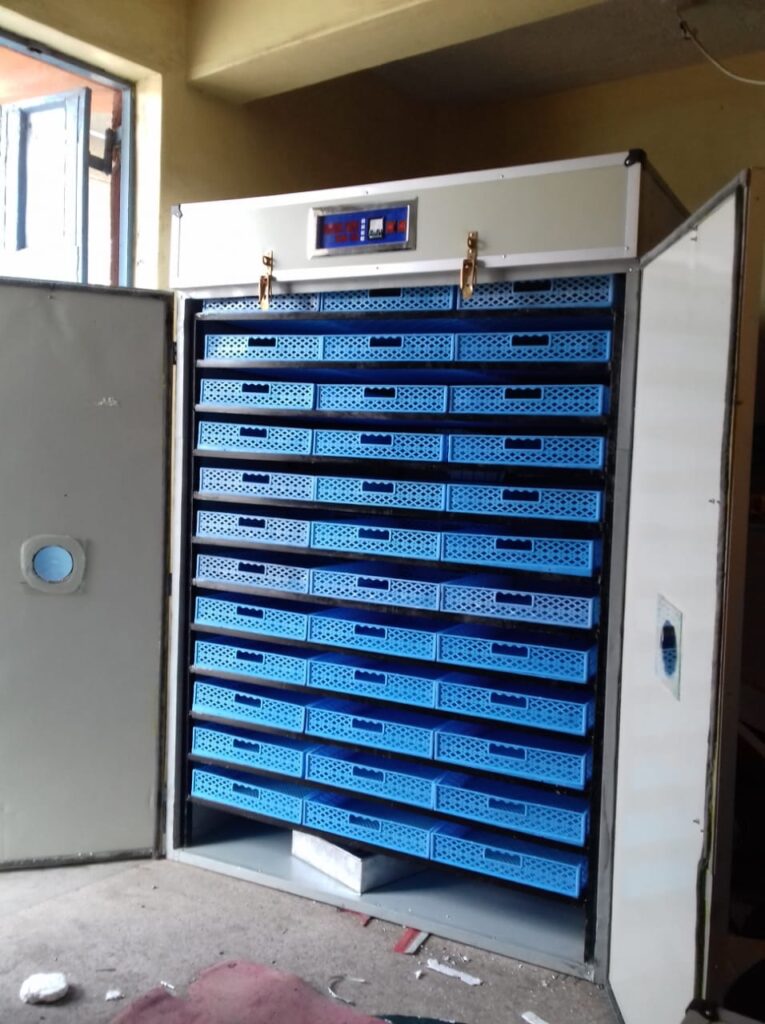
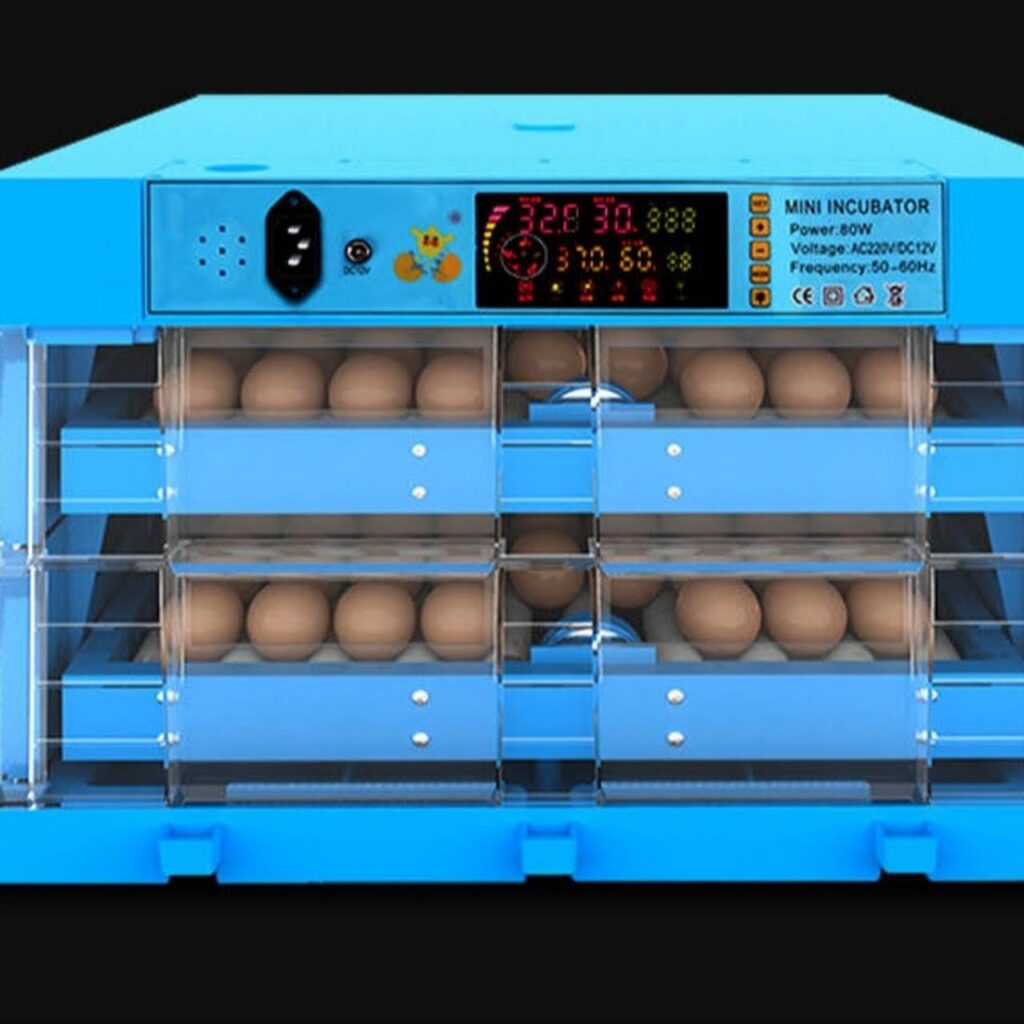
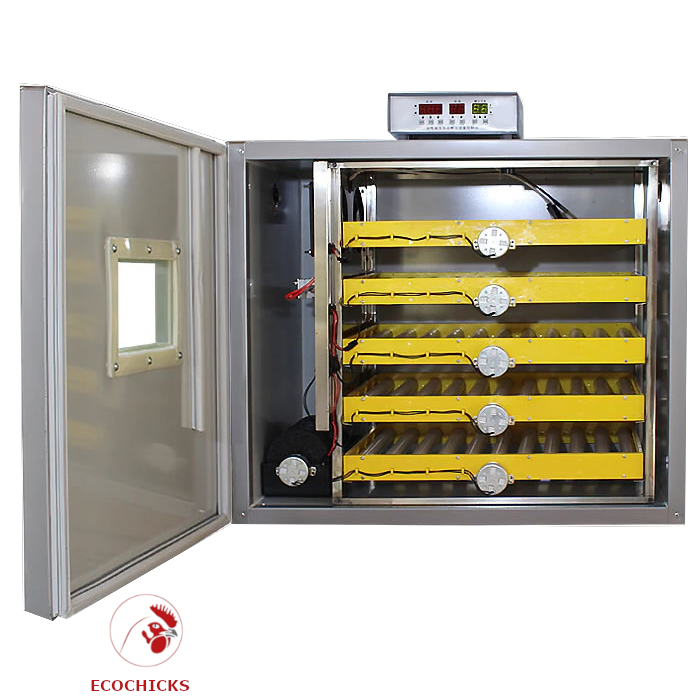
A hatchery tray is a device used in an incubator to hold eggs during the hatching process. It typically consists of a flat, perforated surface with rows of wells or cups to hold the eggs in place. Here are some key features of a hatchery tray:

  1. Material: Hatchery trays can be made from a variety of materials, including plastic, metal, or wire mesh.
  2. Capacity: Hatchery trays come in different sizes, holding anywhere from 6 to over 100 eggs, depending on the incubator size and the egg size.
  3. Perforations: The wells or cups in the hatchery tray are typically perforated to allow air flow and to regulate temperature and humidity levels.
  4. Design: Some hatchery trays feature a sloped design, which helps the eggs to roll gently and encourages the embryos to settle in the proper position for hatching.
  5. Cleaning: Hatchery trays should be cleaned and sanitized regularly, especially between hatching cycles, to reduce the risk of disease transmission.
  6. Compatibility: Make sure to choose a hatchery tray that is compatible with your incubator model and meets your needs, including size and egg capacity.
Hatchery tray

Which eggs to incubate

Here are the key points to consider when selecting hatching eggs:

  • Source: Choose a reputable hatchery or breeder that has a history of producing high-quality hatching eggs.
  • Breed: Research different breeds of chickens and choose the one that meets your needs and preferences, taking into consideration egg production, meat production, or pet characteristics.
  • Certification: Check for any certifications, such as organic or animal welfare approved, if these are important to you.
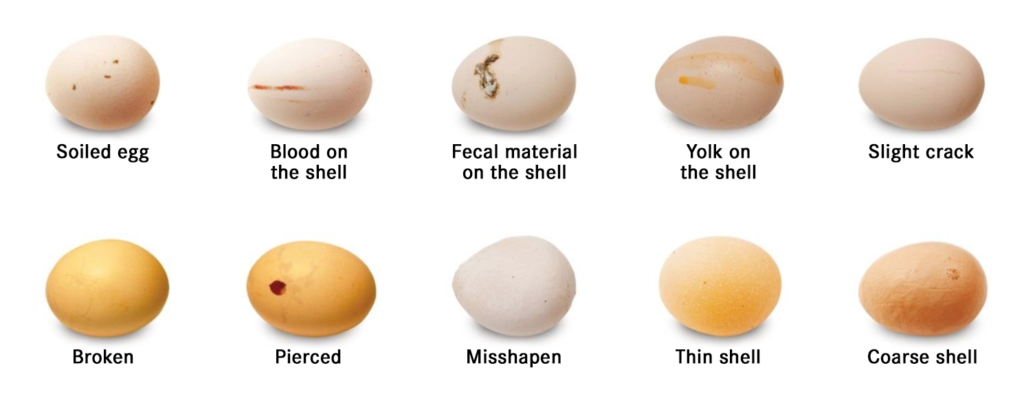
  • Quality: Examine the eggs for cracks, deformities, and other visible defects before purchasing. Ensure the eggs are clean and have a smooth surface.
  • Storage: If possible, purchase eggs that have been stored at the right temperature (45-55°F or 7-13°C) and relative humidity (50-70%).
  • Age: The age of the eggs is an important factor, as fertility decreases as eggs get older.
  • Diversity: Consider purchasing a variety of breeds to diversify your flock and increase genetic diversity.

Egg hatchery business cost

A hatchery for poultry eggs is a facility that specializes in hatching and raising chickens, ducks, turkeys, and other poultry species for commercial purposes. The primary goal of a poultry hatchery is to produce a large number of healthy and vigorous chicks, which are then sold to poultry farmers for use in egg or meat production.

Starting an egg hatchery business can involve significant costs, including:

  1. Incubators: A range of incubators may be needed, with costs varying depending on the size, features, and quality of the equipment.
  2. Building and infrastructure: The cost of a hatchery building and necessary infrastructure such as electrical, plumbing, and ventilation systems can be substantial.
  3. Labor and staffing: Hiring staff to run the hatchery and handle daily operations, as well as ongoing salaries and benefits, can add to the overall cost of the business.
  4. Eggs and supplies: Purchasing eggs for incubation and supplies such as feed, bedding, and cleaning materials can add up over time.
  5. Marketing and advertising: To build a customer base and generate sales, costs for marketing and advertising may be needed.
  6. Legal and regulatory fees: Obtaining necessary licenses, permits, and insurance can add to the upfront costs of starting a hatchery business.

It is important to carefully consider all of these costs and factor them into a comprehensive business plan before launching a hatchery business. Additionally, it is recommended to seek advice from industry experts and/or consult with a financial advisor to help assess the viability and potential profitability of the venture.

Chicken incubation process

Chicken incubation is the process of artificially hatching chicken eggs. The incubation process typically involves controlling the temperature, humidity, and ventilation of the eggs in an incubator until they hatch.

Here are the basic steps of chicken incubation:

  • Selecting fertile eggs: Choose eggs that are fresh, uniform in size and shape, and free from cracks or other damage.
  • Storing eggs prior to incubation: Store the eggs in a cool, dry place with the pointed end down to prevent air from entering the egg.
  • Cleaning eggs: Clean the eggs to remove dirt, debris, and any bacteria that may be present on the eggshell.
  • Candling eggs: Use a bright light to check the quality of the eggs, looking for any that are cracked, have blood spots, or are not fertilized.
  • Loading eggs into the incubator: Arrange the eggs in the incubator trays or racks, placing them with the pointed end down.
  • Monitoring temperature and humidity: Regularly check and adjust the temperature and humidity levels in the incubator to ensure they remain within the ideal range for incubation.
  • Turning eggs: Regularly turn the eggs to ensure that the yolk remains centered and to prevent the embryo from sticking to the eggshell.
  • Adding water: Add water to the incubator to maintain the desired humidity level and prevent the eggs from drying out.
  • Monitoring for signs of hatching: Observe the eggs for signs of hatching, such as pipping (a small hole in the eggshell), and keep the humidity levels high to prevent the egg from drying out as the chick hatches.
  • Removing hatchlings: Once the chicks have hatched, remove them from the incubator and place them in a brooder (a warm, enclosed area for newly hatched chicks).
solar eggs incubators

Incubator accessories

These parts are designed to ensure proper functioning of the incubator and maintain the appropriate environment for incubating eggs or growing cells. They may be specific to a particular model of incubator and can be purchased from the manufacturer or suppliers specializing in laboratory equipment and supplies.

  • Heating elements
  • Thermometers
  • Humidity sensors
  • Fans
  • Control panels
  • Trays
  • Doors
  • Power supply units
  • Circuit boards
  • Timers
  • Alarms
  • Light fixtures
  • Thermostats
  • Air circulation systems
  • Heater controllers

The hatching process incubator

Here are the key steps involved in the hatching process using an incubator:

  1. Setting up the incubator: Clean and sanitize the incubator, fill the water tray, and set the temperature to the recommended level (usually between 99-102°F or 37-39°C) and humidity level (usually between 50-70%).
  2. Placing the eggs: Arrange the eggs in the incubator with the small end facing downwards, being careful not to disturb the air cells within the egg.
  3. Maintaining temperature and humidity: Regularly monitor the temperature and humidity levels and adjust as needed to ensure optimal conditions for hatching.
  4. Turning the eggs: Regularly turn the eggs (at least 3 times a day) to prevent the yolk from sticking to the shell and to encourage even hatching.
  5. Humidity levels: Increase the humidity levels in the incubator in the final days of incubation to ensure the eggshells are soft enough for the chick to hatch.
  6. Candling the eggs: Candling is the process of shining a bright light through the egg to check on the progress of the embryo. This can be done several times during incubation to monitor the health of the embryo and to identify any eggs that are not developing properly.
  7. Hatching: Once the chicks have pipped (made a small hole in the shell), they should be left to hatch on their own. Do not assist in the hatching process unless it is absolutely necessary.
  8. After hatching: Once the chicks have hatched, they should be removed from the incubator and placed in a brooder to provide warmth, food, and water.
day 18 humidity and temperature

Egg hatching at home

Hatching eggs at home can be an exciting and educational experience, but it requires careful planning, preparation, and attention to detail. Here are the basic steps for hatching eggs at home:

  1. Choose the right eggs: Select healthy, fertile eggs from a reliable source.
  2. Prepare the incubator: Clean and sanitize the incubator, set the temperature to the correct level (usually between 99°F and 102°F), and adjust the humidity to the appropriate level (usually around 50-70%).
  3. Place the eggs in the incubator: Place the eggs with the pointed end downwards and keep them undisturbed until it is time to turn them.
  4. Maintain the temperature and humidity: Keep the temperature and humidity at the correct levels for the entire incubation period, which can range from 18 to 21 days for chicken eggs.
  5. Turn the eggs: Regularly turn the eggs several times a day to prevent the yolk from settling at the bottom and to help the embryo develop properly.
  6. Monitor the eggs: Observe the eggs for signs of fertility, such as cloudy egg whites, and check for cracks or other signs of damage.
  7. Hatch the eggs: When the eggs are ready to hatch, the chicks will pip (make a hole in the eggshell) and eventually emerge.

Remember that hatching eggs at home requires patience, attention to detail, and a willingness to learn. If you’re new to incubating eggs, it’s a good idea to start with a small batch and learn from your experiences.

Incubator electricity consumption

The electricity consumption of an incubator depends on several factors, including the size and type of the incubator, the number of eggs it holds, and the temperature settings.

On average, a small incubator can consume between 50 to 100 watts of electricity, while a larger incubator can consume up to 500 watts or more.

To determine the exact electricity consumption of an incubator, it’s best to consult the manufacturer’s specifications or use a power meter to measure the actual usage.

300 eggs incubators

Incubator with battery backup

An incubator with a battery backup is a type of egg incubator that is equipped with a battery to provide backup power in the event of a power outage or other interruption of electricity. The battery backup helps to ensure that the incubator’s temperature, humidity, and ventilation are maintained even if there is a temporary power failure.

This is important for egg incubation, as fluctuations in temperature or humidity can have a significant impact on the success of the hatching process. With a battery backup, farmers and incubation facilities can have peace of mind knowing that their eggs will be protected even if the power goes out.

Battery backup incubators are particularly useful for those operating in areas with unreliable electricity, such as rural areas or areas with frequent power outages. This can help to improve the success rate of egg hatching, and increase the overall efficiency and profitability of egg incubation.

Egg hatching duration

The duration of egg hatching can vary depending on several factors such as the species of bird, temperature, humidity, and incubator conditions.

Typically, for chickens, the hatching process takes 21 days from the time the egg is set in the incubator. However, it is important to monitor the incubator regularly to ensure optimal conditions are maintained and to intervene if necessary to prevent problems that may affect the hatching process.

solar eggs incubators
Back to Top
Call Now
Product has been added to your cart