Hatching eggs at home can be an exciting and educational experience, but it requires careful planning, preparation, and attention to detail. Here are the basic steps for hatching eggs at home:
- Choose the right eggs: Select healthy, fertile eggs from a reliable source.
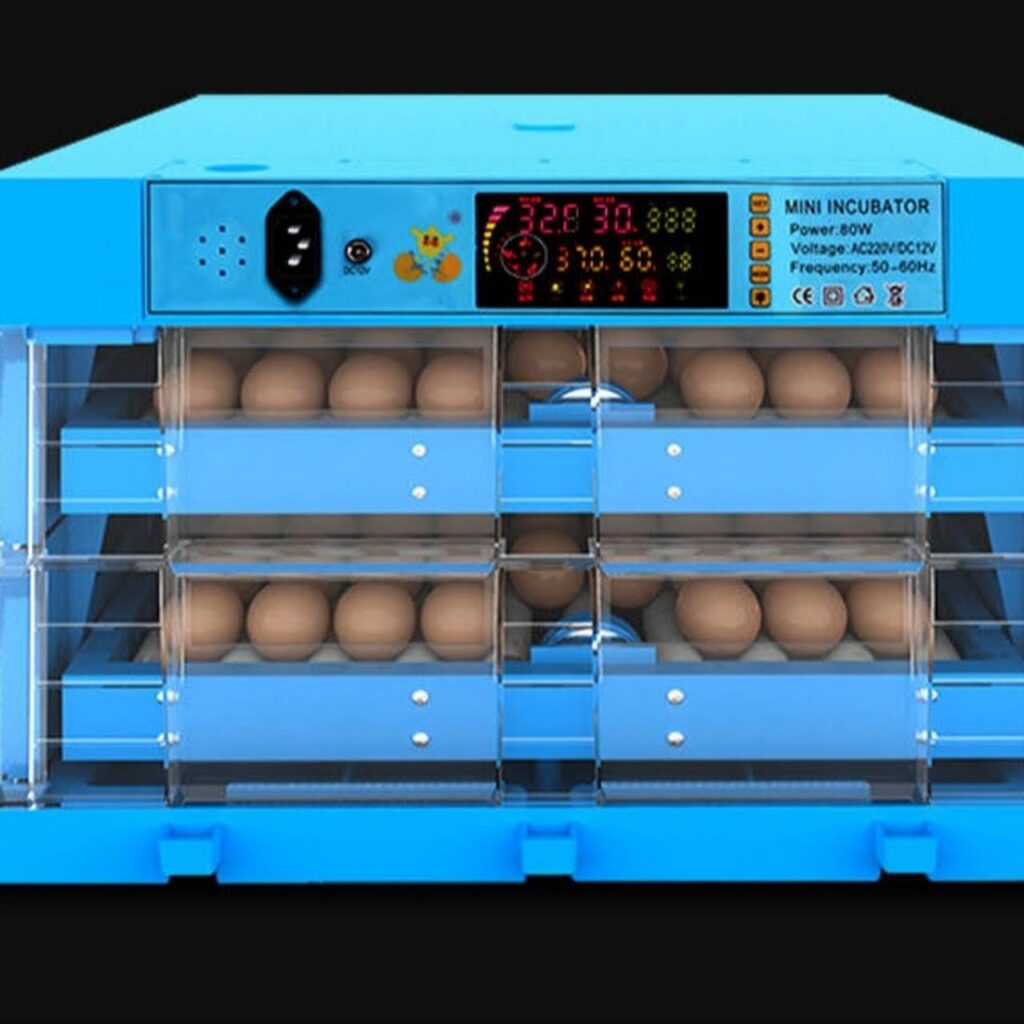
- Prepare the incubator: Clean and sanitize the incubator, set the temperature to the correct level (usually between 99°F and 102°F), and adjust the humidity to the appropriate level (usually around 50-70%).
- Place the eggs in the incubator: Place the eggs with the pointed end downwards and keep them undisturbed until it is time to turn them.
- Maintain the temperature and humidity: Keep the temperature and humidity at the correct levels for the entire incubation period, which can range from 18 to 21 days for chicken eggs.
- Turn the eggs: Regularly turn the eggs several times a day to prevent the yolk from settling at the bottom and to help the embryo develop properly.
- Monitor the eggs: Observe the eggs for signs of fertility, such as cloudy egg whites, and check for cracks or other signs of damage.
- Hatch the eggs: When the eggs are ready to hatch, the chicks will pip (make a hole in the eggshell) and eventually emerge.
Remember that hatching eggs at home requires patience, attention to detail, and a willingness to learn. If you’re new to incubating eggs, it’s a good idea to start with a small batch and learn from your experiences.