Egg Incubation FAQ
Q1: Why is it important to wash hands before and after handling eggs during incubation?
- A1: Washing hands is crucial to prevent contamination of the eggs. It minimizes the risk of transferring harmful bacteria or substances to the eggs, which can affect their development.
Q2: How often should I record the temperature in the incubator and the room?
- A2: It’s important to record the room and incubator temperatures both in the morning and evening each day. This ensures the incubator is maintaining the correct environment for the eggs.
Q3: How frequently should I turn the eggs, and is there a different routine for weekends?
- A3: Eggs should be gently turned three times per day. On weekends, it’s acceptable to turn them only once. Remember to initial the record sheet each time to track this process.
Q4: What is the purpose of misting the eggs or adding warm water to the incubator?
- A4: Misting eggs or adding warm water helps maintain the necessary humidity levels within the incubator. This is vital for the proper development of the embryos.
Q5: Is it necessary to record humidity levels daily?
- A5: Yes, daily recording of humidity levels is essential to ensure they remain within the optimal range for egg incubation.
Q6: When should I candle the eggs, and why?
- A6: Candling should be done on days 7, 14, and 18. This process allows you to observe the development of the embryo and check for any issues.
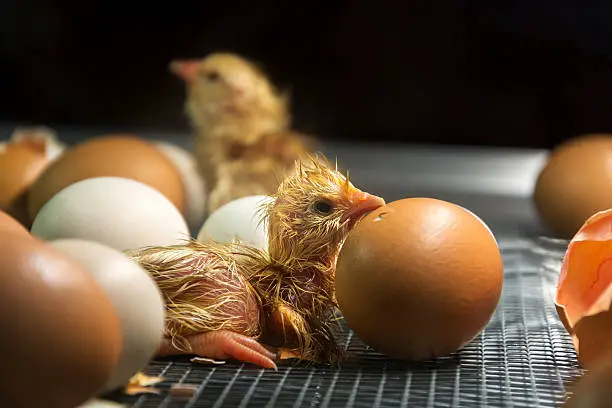
Q7: When should I stop turning the eggs?
- A7: Stop turning the eggs on day 18. This is to prepare the eggs for the hatching process.
Q8: What humidity level should be maintained from day 18 until the hatch?
- A8: From day 18 until the hatch, maintain the humidity between 65-70%. This higher humidity level is crucial for the hatching phase.
Q9: How do I prepare the water dish on day 20 to prevent contamination during the hatch?
- A9: On day 20, cover the water dish with cheesecloth or a very thin rag. This prevents shell fragments and down from falling into the water during the hatch.
Q10: How should I prepare the brooder on day 20 for the chicks?
- A10: On day 20, prepare the brooder by:
- Lining the bottom with paper towels or shavings to protect the chicks’ legs.
- Adding a jar lid, small dish, or tuna can with marbles for water.
- Preparing a dish for food.
- Locating a heat source to maintain a temperature around 95°F (35°C).
- Placing a thermometer to monitor the temperature.
These FAQs cover the key aspects of egg incubation, ensuring a clear understanding of the process for successful hatching.
-
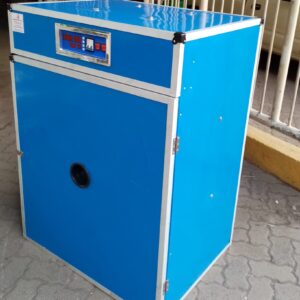
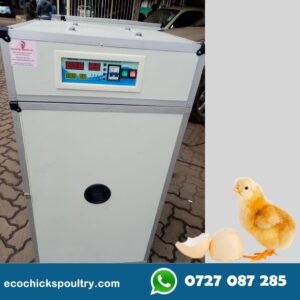
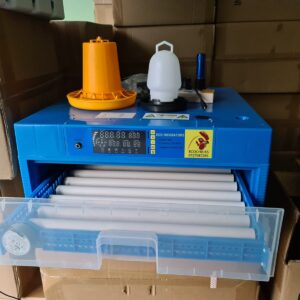
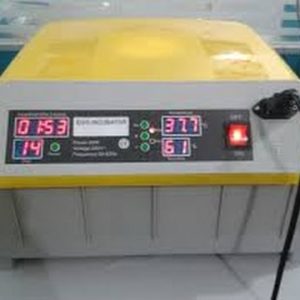
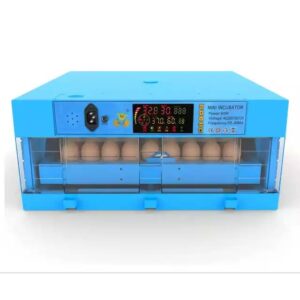
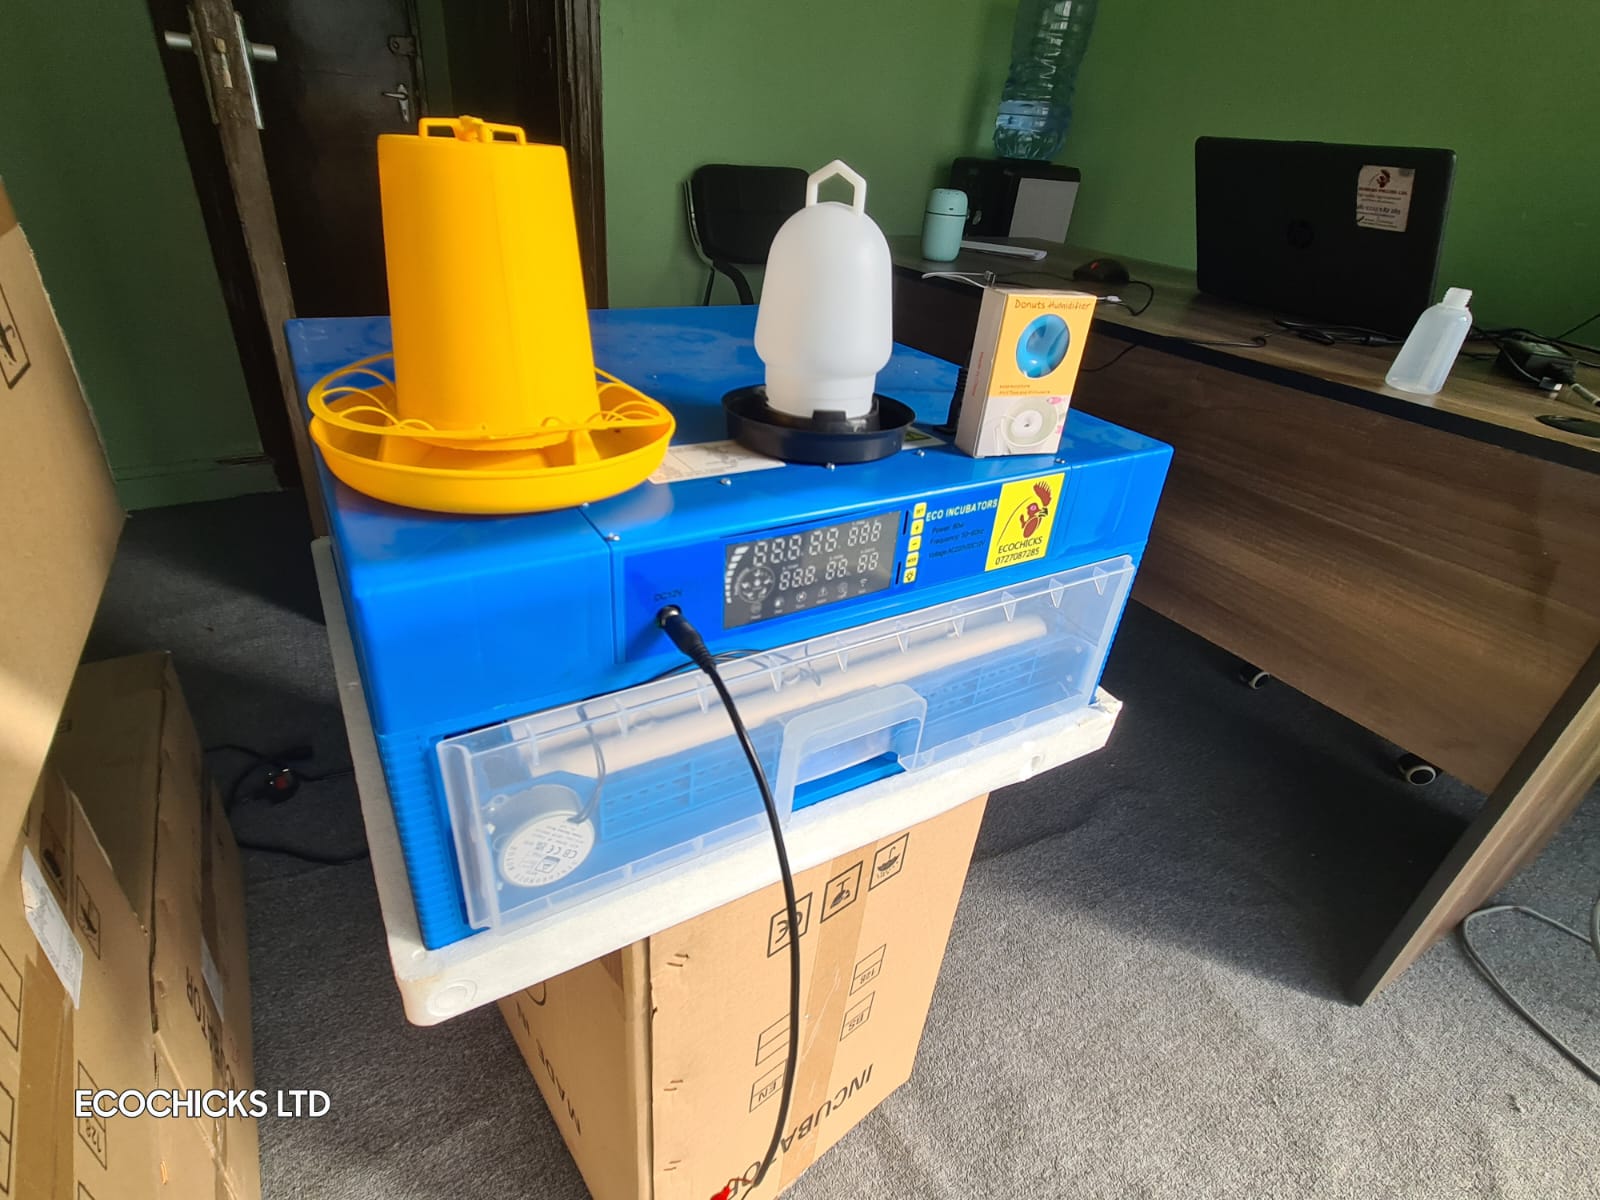
Product on sale
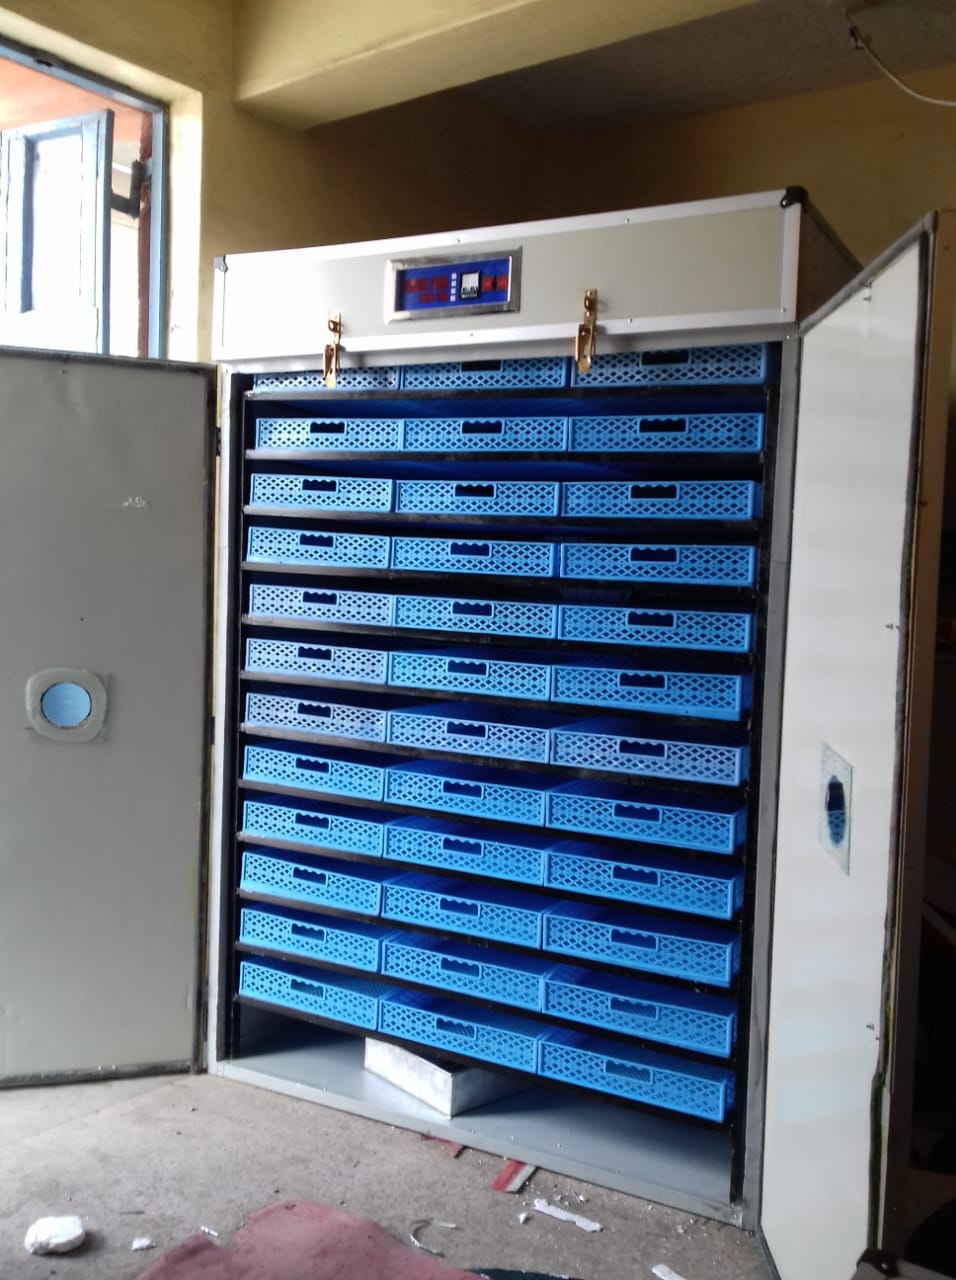
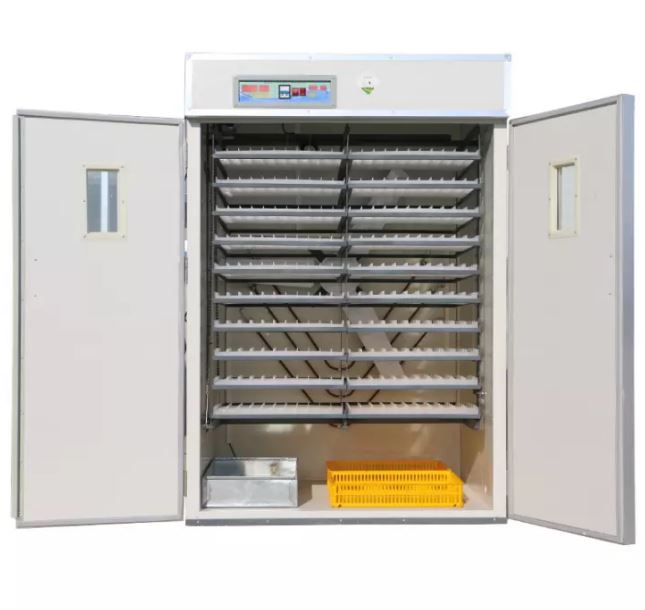
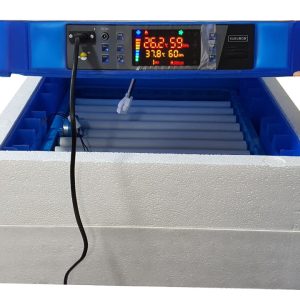
 528 Eggs Intelligent Automatic Egg Hatcher, Professional Cabinet Incubator with Temperature Humidity Control, for Chicken Duck Dove QuailOriginal price was: KSh55,000.00.KSh50,000.00Current price is: KSh50,000.00.
 -
Product on sale528 Eggs Intelligent Automatic Egg Hatcher, Professional Cabinet Incubator with Temperature Humidity Control, for Chicken Duck Dove QuailOriginal price was: KSh55,000.00.KSh50,000.00Current price is: KSh50,000.00.
-
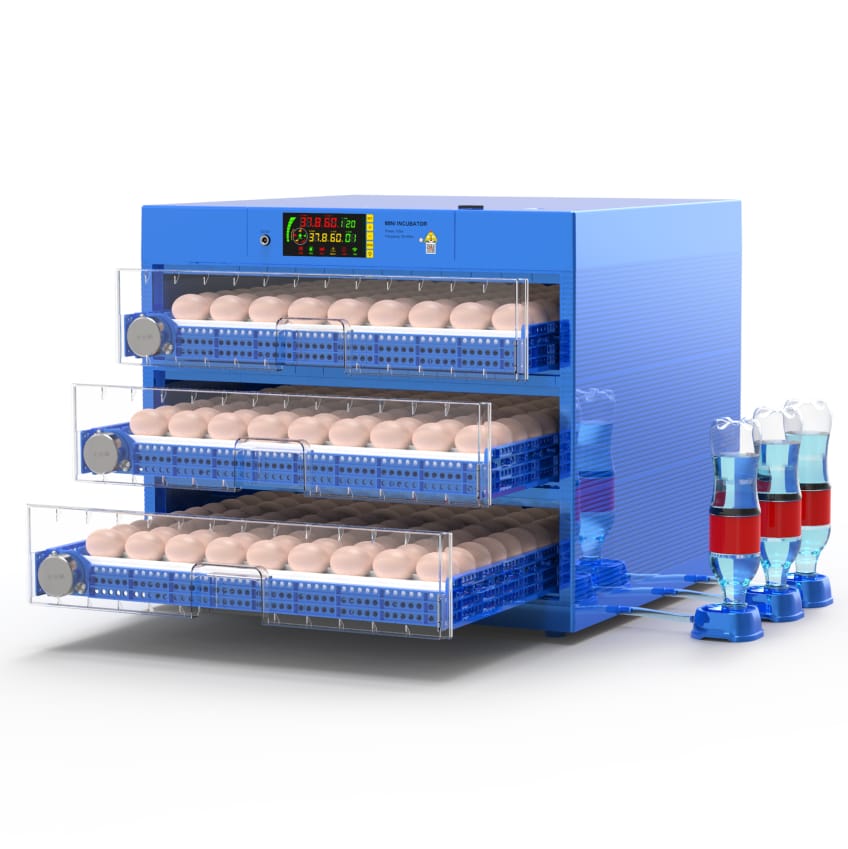
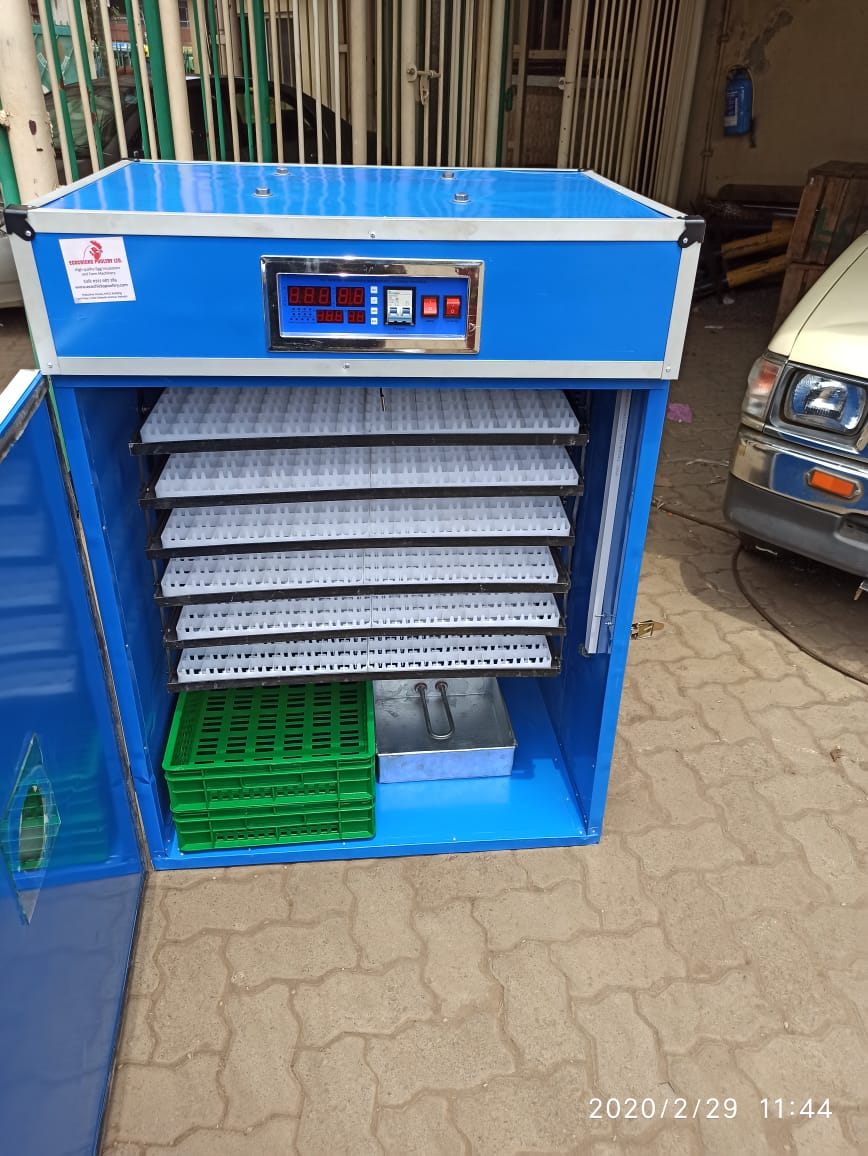
Product on sale528 Eggs Intelligent Automatic Egg Hatcher, Temperature Humidity Control,Automatic TurningOriginal price was: KSh55,000.00.KSh50,000.00Current price is: KSh50,000.00.
-
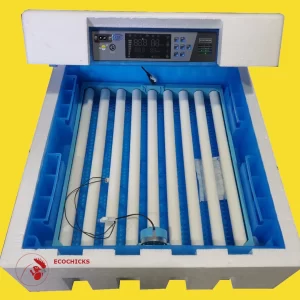
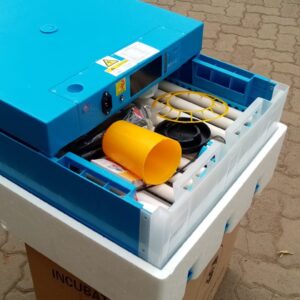
Product on saleFully automatic temperature and humidity, quality automatic eggs incubator with competitive price, lower power consumption, discounted offers, It is equipped with universal tray which carry eggs, backup generator,Original price was: KSh55,000.00.KSh50,000.00Current price is: KSh50,000.00.
-
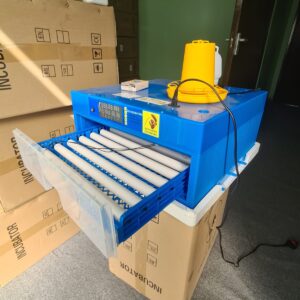
Product on sale528 Eggs Intelligent Automatic Egg Hatcher, Temperature Humidity Control, Automatic Turning, for ChickOriginal price was: KSh55,000.00.KSh50,000.00Current price is: KSh50,000.00.
-
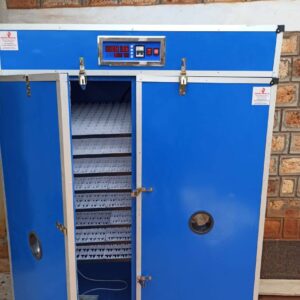
Product on saleEggs Incubator Chicken Farming Poultry Hatching Automatic Incubator for Eggs Duck Wild Goose Birds,528 PCS.Original price was: KSh55,000.00.KSh50,000.00Current price is: KSh50,000.00.
-
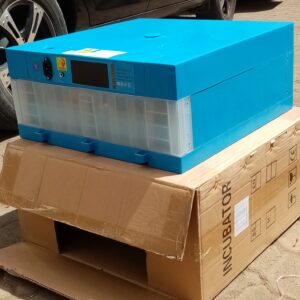
Product on saleProfessional Cabinet Incubator, Eggs Intelligent Automatic Egg Hatcher,Temperature Humidity Control,Automatic Turning,for Chicken Duck Dove QuailOriginal price was: KSh55,000.00.KSh50,000.00Current price is: KSh50,000.00.
-
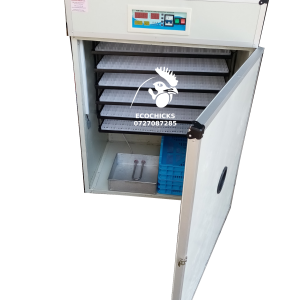
Product on sale528 Egg Incubator, Automatic Turning Large Poultry Hatcher,Temperature Control & Automatic Egg Turner, for Chicken, Ducks, BirdsOriginal price was: KSh55,000.00.KSh50,000.00Current price is: KSh50,000.00.
-
Product on saleEggs Intelligent Automatic Egg Hatcher,Temperature Humidity Control,Automatic Turning,for Chicken Duck Dove QuailOriginal price was: KSh55,000.00.KSh50,000.00Current price is: KSh50,000.00.