Here is a basic guide on how to use an incubator to hatch chicken eggs:
- Choose the right incubator: Select an incubator that fits the number of eggs you want to hatch, has an accurate temperature control system, and can maintain a consistent temperature and humidity level.
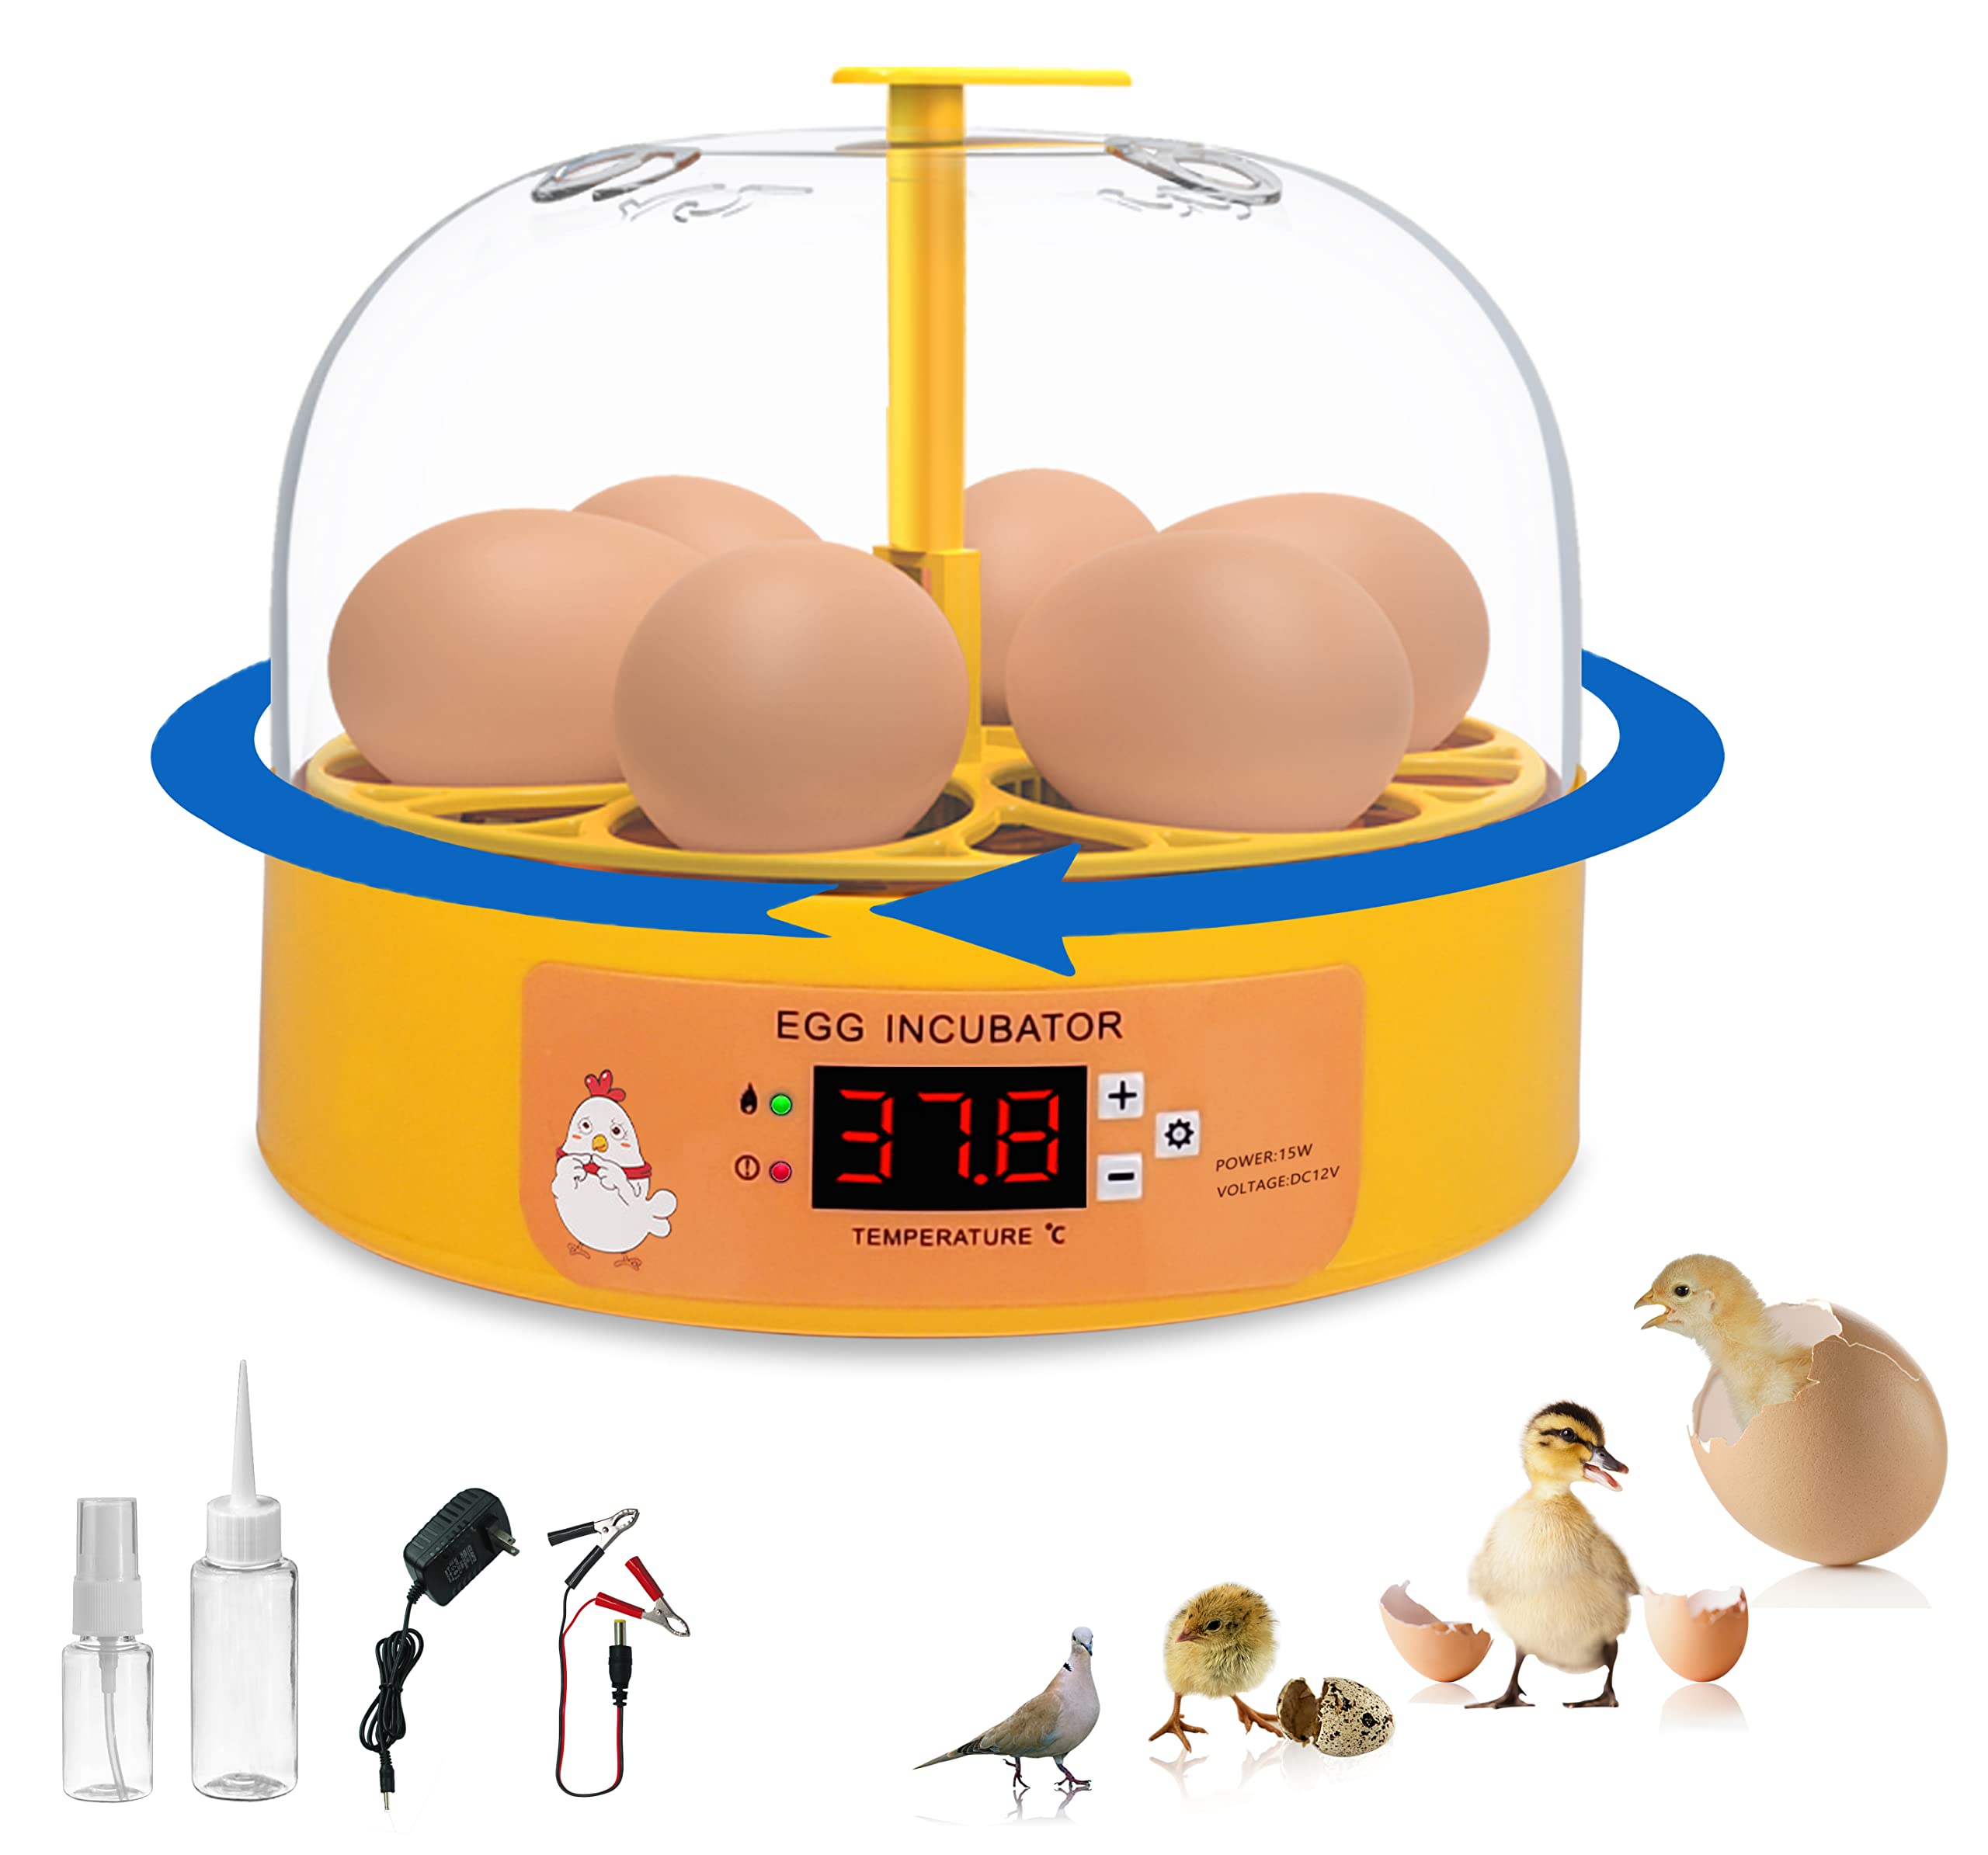
- Prepare the incubator: Clean the incubator thoroughly and fill the water trough with distilled water to maintain the required humidity level. Set the temperature to the recommended range of 99-100°F (37.2-37.8°C).
- Prepare the eggs: Obtain fresh, fertile chicken eggs and candle them to check for cracks or other defects. Place the eggs in the incubator on their sides, small end facing down, and ensure they are spaced apart evenly.
- Monitor temperature and humidity: Regularly check the temperature and humidity levels to ensure they are within the recommended range. Adjust the temperature or add more water to the water trough as needed to maintain the desired conditions.
- Turn the eggs: At least three times a day, gently turn the eggs to prevent the yolk from sticking to the shell and to ensure proper embryo development.
- Monitor egg development: After 18-21 days, the eggs will start to hatch. Continue monitoring the temperature and humidity levels, but do not turn the eggs during the hatching process.
- Remove the chicks: When the chicks have fully hatched, remove them from the incubator and place them in a brooder with a heat source and access to food and water.
Remember to always follow the manufacturer’s instructions for your specific incubator and keep the incubator clean and sanitized to reduce the risk of contamination.